Instructions for assembling trellises and panels
2025-09-09
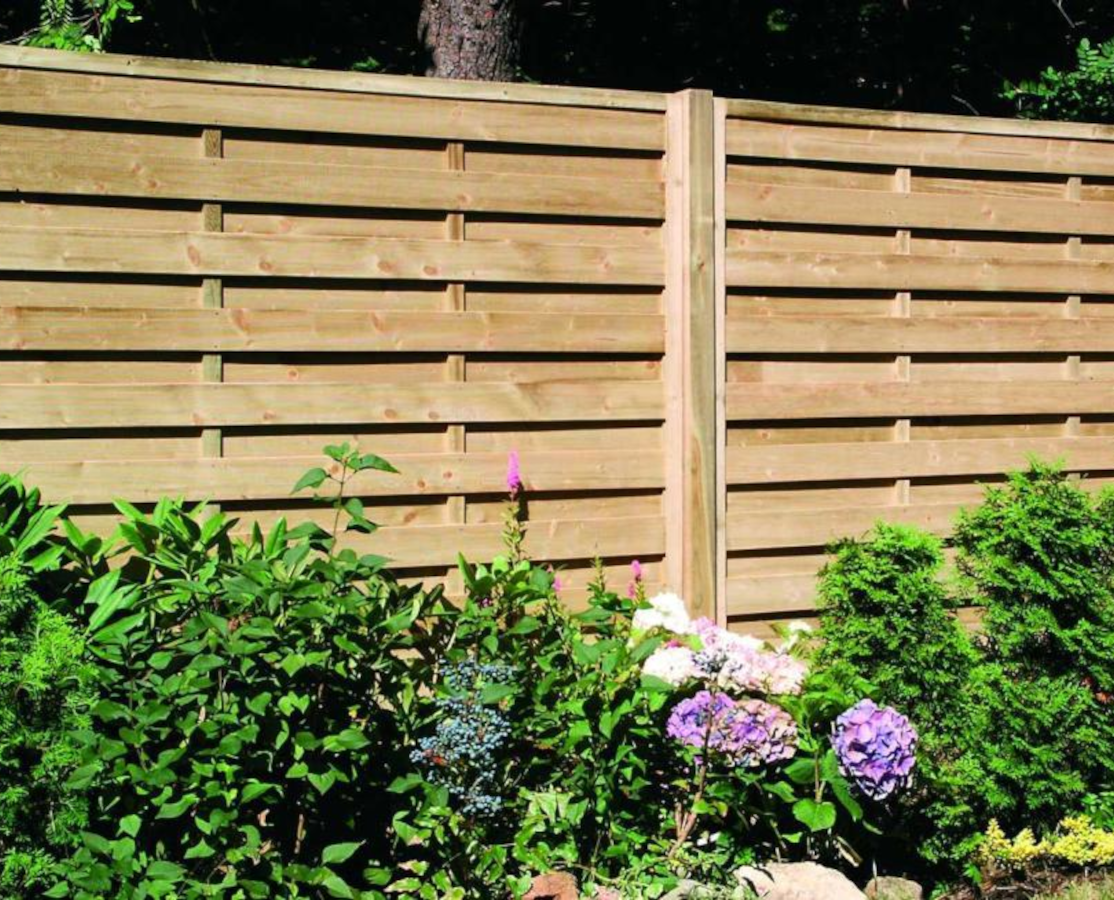
Installing a fence? Nothing complicated! Fence panels, like picket fences and trellises, are assembled in a similar way. Here is a guide that will help you choose the necessary mounting accessories and show you step by step how to install a panel fence. If you have ordered N number of fence panels or grates, you should also purchase: N+1 fence posts N+1 anchors (as many as there are posts) N x 4 L-brackets with screws (2 per side). 8 x 3.5 x 30 mm wood screws for one panel 2 x 8 x 50 mm wood screws (for one post and one anchor) Assembly tools: - spirit level, - tape measure, - drill/screwdriver, - hammer Installation: fence panels, grilles and garden pergolas are mounted on the ground with wooden posts inserted into brackets with spikes or cup brackets. Drive-in brackets are used to mount the grilles in the ground and isolate them from contact with the soil. Cup brackets are recommended for positioning posts on hard ground. The panels are fixed to the posts using L-brackets with a screw. Four fasteners are required for each grille. Step 1. Drive the stake into the ground using a hammer and a piece of wood (to avoid damaging the stake). The stake must be positioned so that the screw holes are on a wall that is not aligned with the fence span. Every few blows, check with a spirit level that the tip is vertical. The bracket should protrude 15 cm from the ground. This will ensure that the post is above ground level, preventing it from rotting. Note: the piece of wood that fits into the bracket when you insert it into the ground is designed to protect the bracket from damage or deformation if you insert the picket with a hammer only. Ideally, the piece of wood should have a cross-section similar to that of the post that we will then insert into the picket. Step 2. Draw a line along which to install the fence. Step 3. Insert the post into the bracket and secure it with screws on opposite sides, checking that it is vertical. Two 8 x 50 mm screws are sufficient to secure the posts to the bracket. One screw must be inserted on each side, regardless of the hole. If, after inserting the post into the bracket, the post is crooked, you can straighten it while tightening the screws. Step 4. Screw the supports on which the span will rest and secure them in place to mark the point where the next picket will be inserted. Step 5. Screw the panel a few centimetres above the ground so that it is not exposed to damp soil. The panel is screwed to the posts with eight 3.5 x 35 mm screws. Step 6. Follow the same procedure to install the remaining fence panels.